Custom Cursor Squarespace Effects (Free CSS + JavaScript)
Enhancing your Squarespace site with subtle interactive motion is one of the easiest ways to make your design feel more premium, intentional, and alive. These are also powerful ways to improve user engagement, something people often search for when looking for hover effects Squarespace or custom cursor Squarespace tutorials.
If you're new here, you can learn more about my work and approach on my Home page
1. The Marker Drawing Effect
A soft, smooth marker stroke that visitors can draw across the screen.
2. The Spotlight Reveal Effect
A cinematic light mask that reveals content only where the cursor moves.
These are modern, elegant, and designed to blend beautifully with creative, portfolio, or premium brand layouts.
You’ll also be able to copy every piece of code directly using the glass code boxes below.
Let’s go.
Step 1 : Add a New Section
Go to your Squarespace page
Click Add Section
Add an image to the background but any kind of layout works
Add your content first
Your title
Your description text
Your buttons
Your background image
IMPORTANT
Add ALL your text BEFORE adding the Anchor Link.
Once the JavaScript activates, clicking inside the section may trigger drawing, which can make editing text annoying.
So make sure all your content is in place now, before moving to the next step.
Step 2 : Give the Section Its Anchor Link (Section ID)
Hover over the section
Click Edit Section
Scroll down to the last option, called Anchor link
Replace whatever is inside (ex:
#home) with:
loveajayi-marker
This ID makes sure the marker script affects only this section.
Step 3: Add the Marker CSS
Go to:
Design → Custom CSS
Paste the entire CSS code from the box in your blog post.
The CSS:
Creates the canvas layer
Ensures the marker draws above your content
Makes it responsive
/* --- LOVE AJAYI — MARKER DRAWING EFFECT --- */

#loveajayi-marker {
  position: relative;
  overflow: hidden;
}

/* The canvas where the drawing happens */
#loveajayi-marker canvas.loveajayi-canvas {
  position: absolute;
  inset: 0;
  z-index: 5;
  pointer-events: none; /* drawing happens via JS, not direct mouse interaction */
}
Step 4 : Add the Marker JavaScript
Go to:
Settings → Advanced → Code Injection → Footer
Paste the full JavaScript from your code box.
The JavaScript:
Creates the drawing canvas
Tracks mouse movement inside your section
Draws a red marker line behind the cursor
Stops drawing when the mouse isn’t pressed
<script>
document.addEventListener("DOMContentLoaded", function() {

  const section = document.getElementById("loveajayi-marker");
  if (!section) return;

  // Create the drawing canvas
  const canvas = document.createElement("canvas");
  canvas.classList.add("loveajayi-canvas");
  section.appendChild(canvas);

  const ctx = canvas.getContext("2d");

  function resizeCanvas() {
    canvas.width = section.offsetWidth;
    canvas.height = section.offsetHeight;
  }

  resizeCanvas();
  window.addEventListener("resize", resizeCanvas);

  let drawing = false;

  section.addEventListener("mousemove", (e) => {
    const rect = section.getBoundingClientRect();
    const x = e.clientX - rect.left;
    const y = e.clientY - rect.top;

    if (drawing) {
      ctx.lineWidth = 8;
      ctx.lineCap = "round";
      ctx.strokeStyle = "rgba(255, 0, 0, 0.85)"; // red marker color
      ctx.lineTo(x, y);
      ctx.stroke();
    } else {
      ctx.beginPath();
      ctx.moveTo(x, y);
    }
  });

  section.addEventListener("mousedown", () => {
    drawing = true;
  });

  document.addEventListener("mouseup", () => {
    drawing = false;
  });

});
</script>
Step 5: Save and Refresh the Page
After pasting the CSS and JavaScript:
Click Save
Refresh your live page
Hover and click inside the section to test the marker
You should now be able to draw on the section like a digital marker pad.
Step 6: Optional Customizations
You can edit the JavaScript line:
ctx.strokeStyle = "rgba(255, 0, 0, 0.85)";
Change the color to customize the marker:
Gold:
rgba(255, 215, 0, 0.85)Pink:
rgba(255, 105, 180, 0.85)White:
rgba(255, 255, 255, 0.85)Black:
rgba(0, 0, 0, 0.85)
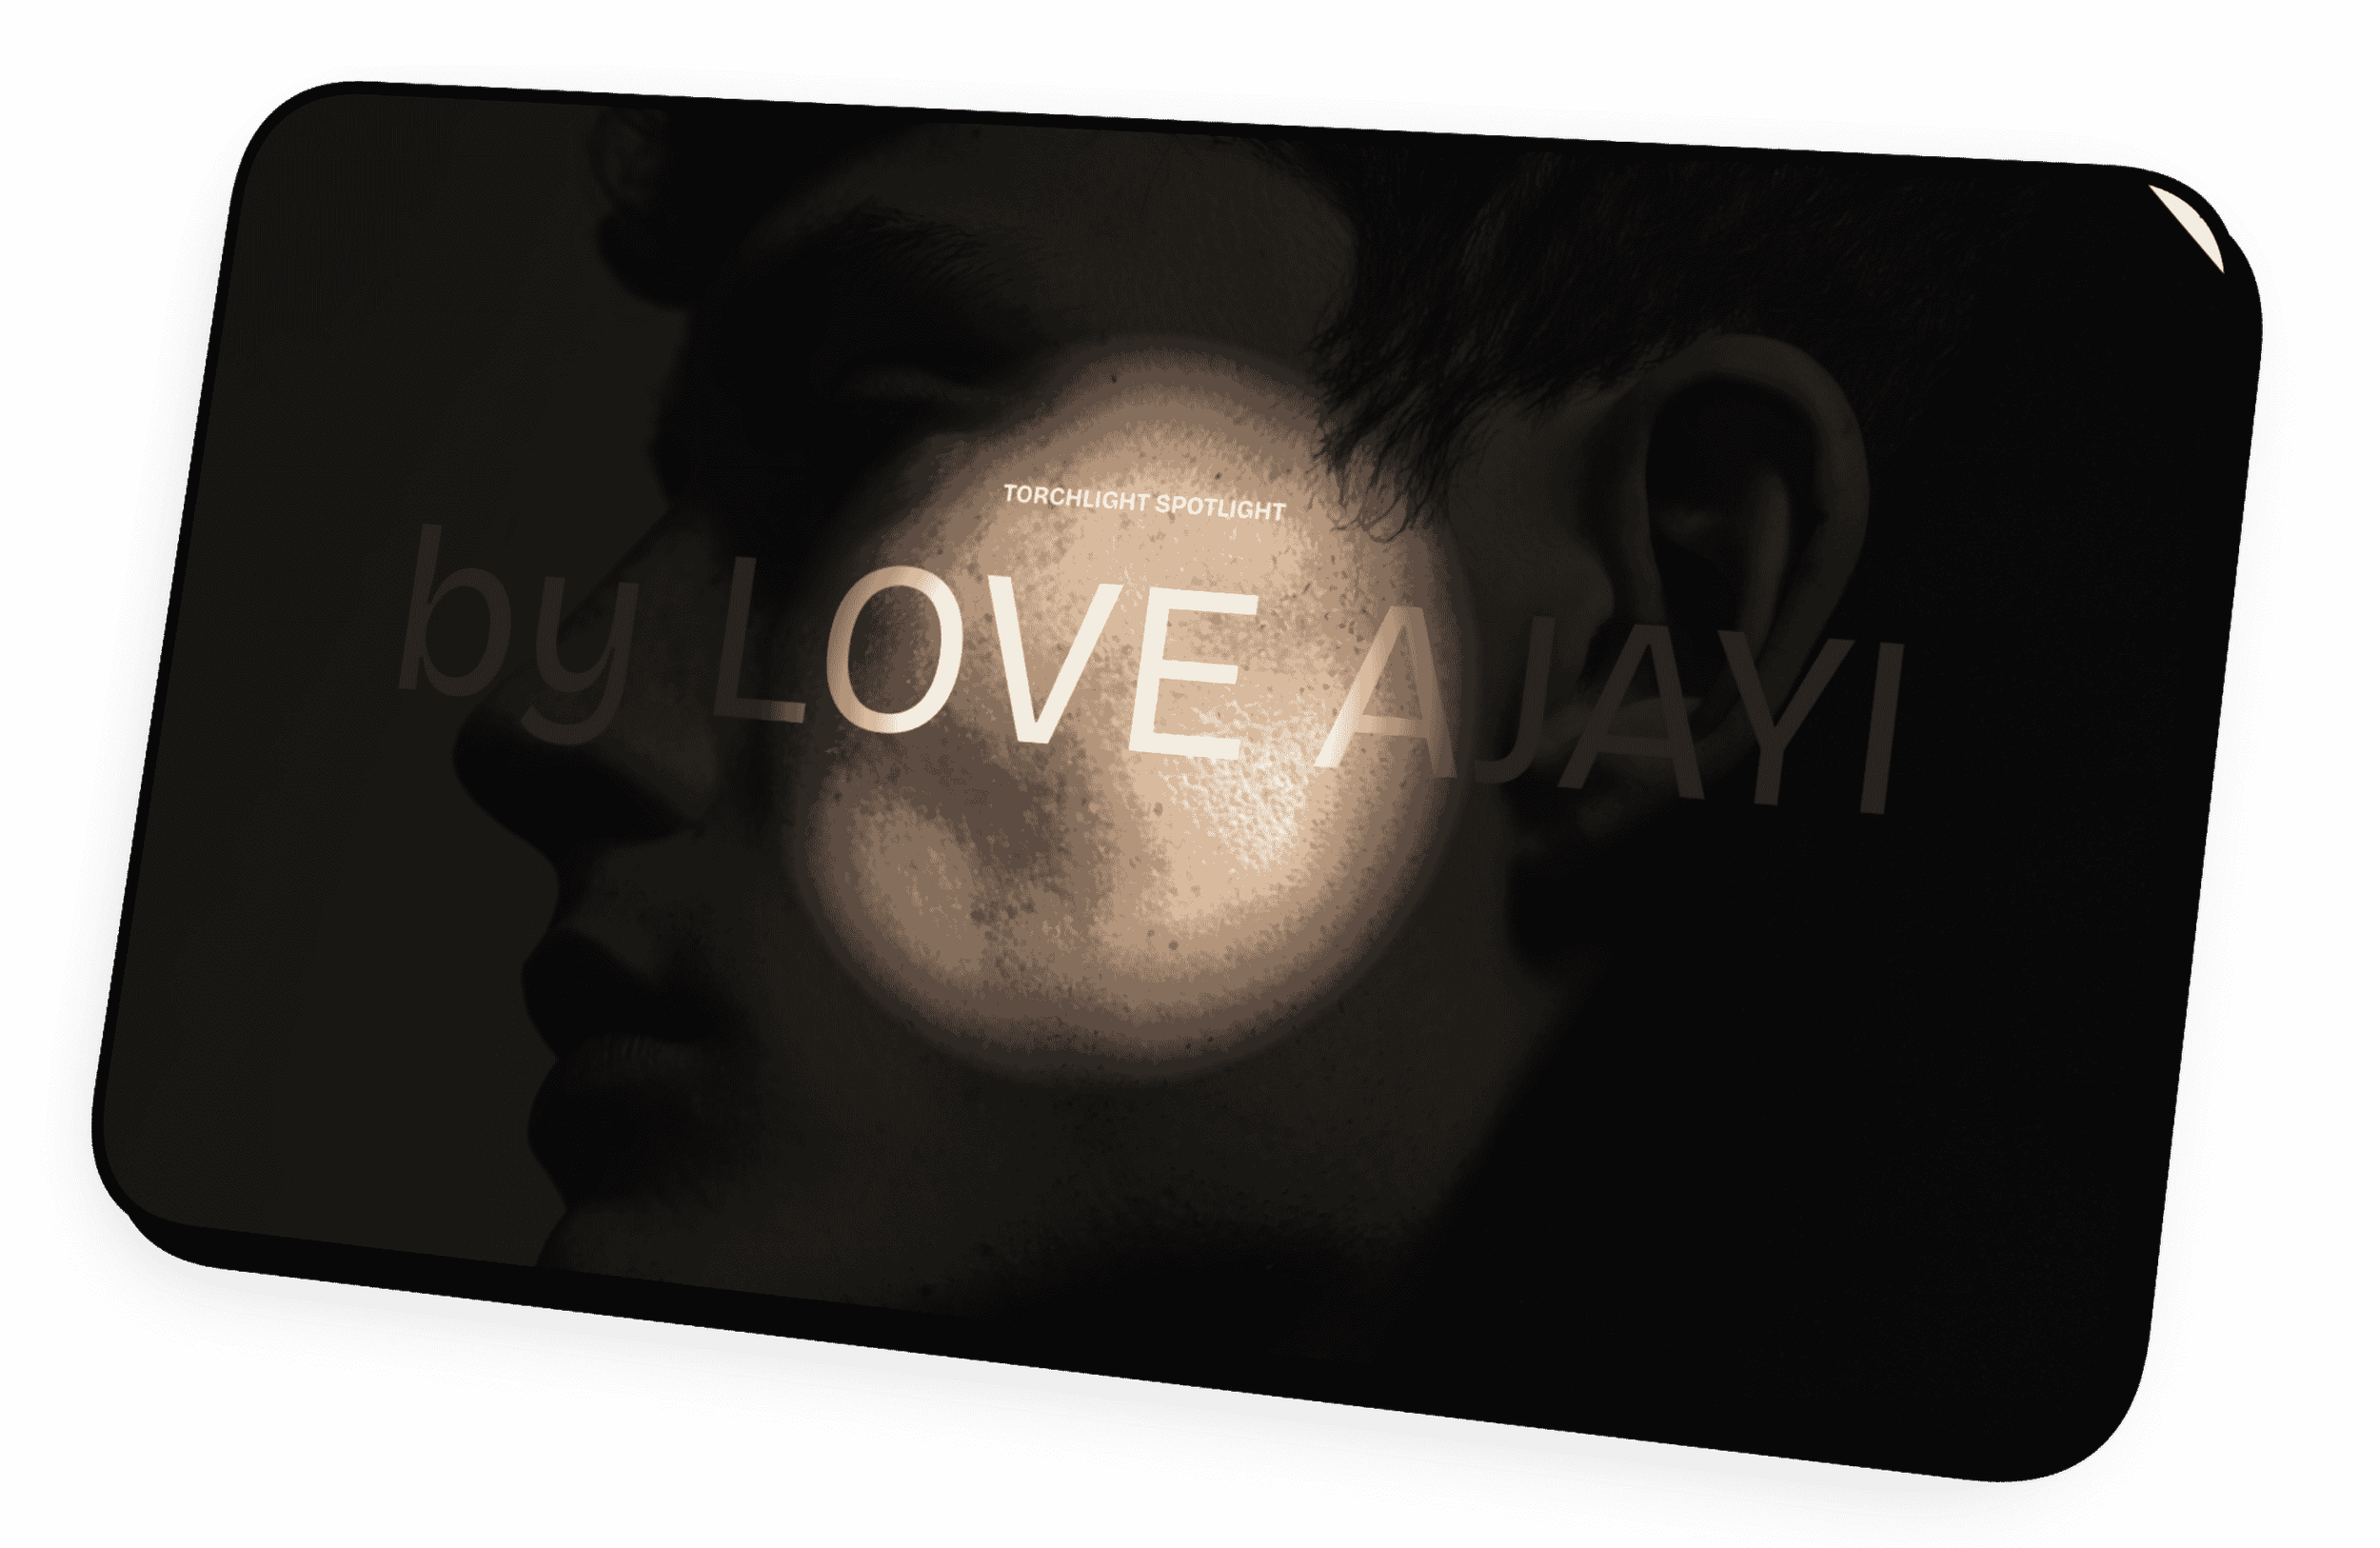
THE SPOTLIGHT REVEAL EFFECT (Squarespace)
This effect places a soft dark veil over your entire section and reveals the content only where your visitor’s mouse moves; like a cinematic spotlight following them around.
Luxury. Dramatic. High-end.
Step 1 : Add a New Section
Go to the page where you want the effect
Click Add Section
Choose an Image section, Gallery, or any layout that has visual content
Add ALL your content first:
Titles
Text
Buttons
Background images
Important:
Add your design content FIRST.
After adding the anchor link + JavaScript, clicking inside the section may activate the spotlight mask, making editing harder.
Step 2: Add the Anchor Link (Section ID)
Hover over the section
Click Edit Section
Scroll down to the final option: Anchor Link
Paste this exactly:
loveajayi-spotlight
Step 3 : Add the Spotlight CSS
Go to:
Design → Custom CSS
Paste the CSS from this box:
/* =======================================
   LOVE AJAYI SPOTLIGHT — ID VERSION
   ======================================= */

section#loveajayi-spotlight {
  position: relative;
  overflow: hidden;
  --mx: 50%;
  --my: 50%;
}

/* Dark veil layer (the spotlight reveals through this) */
section#loveajayi-spotlight::before {
  content: "";
  position: absolute;
  inset: 0;
  z-index: 3;
  background: rgba(0, 0, 0, 0.85);
}
This creates the dark veil layer and prepares the section for the moving spotlight mask.
Step 4 : Add the Spotlight JavaScript
Go to:
Settings → Advanced → Code Injection → Footer
Paste the JavaScript from this box (your readers will copy it as real <script> code):
<script>
document.addEventListener("DOMContentLoaded", function() {

  const section = document.querySelector("section#loveajayi-spotlight");
  if (!section) return;

  const style = document.createElement("style");
  document.head.appendChild(style);

  function updateMask(x, y) {
    const rule = `
      section#loveajayi-spotlight::before {
        -webkit-mask-image: radial-gradient(circle 380px at ${x}% ${y}%, transparent 40%, black 70%);
        mask-image: radial-gradient(circle 380px at ${x}% ${y}%, transparent 40%, black 70%);
        -webkit-mask-repeat: no-repeat;
        mask-repeat: no-repeat;
      }
    `;
    style.innerHTML = rule;
  }

  updateMask(50, 50);

  section.addEventListener("mousemove", (e) => {
    const rect = section.getBoundingClientRect();
    const x = ((e.clientX - rect.left) / rect.width) * 100;
    const y = ((e.clientY - rect.top) / rect.height) * 100;
    updateMask(x, y);
  });

});
</script>
This script:
Creates a dynamic mask
Tracks the mouse position
Cuts a “light circle” through the dark veil
Smoothly follows the cursor
Step 5 : Save and Test
Save your CSS
Save your JavaScript
Refresh your live site
Move your mouse over the spotlight section
You should see your content hidden under a dark overlay and revealed beautifully in a moving glowing circle. It looks like a movie reveal moment.
Final Thoughts
These two effects Marker and Spotlight are elegant, luxury-friendly ways to add personality and interactivity to your Squarespace site. They’re simple to install, fully copy-paste, and blend beautifully with modern brand design.
If you want help customizing these for your brand (color, shape, softness, animation style), feel free to explore my:
For inspiration, you can browse my recent builds and animations in my Portfolio
Want me to install or customize these effects for your site? Get in touch through my Contact page
Your website deserves to feel alive.
FAQs About Custom Cursors & Hover Effects in Squarespace
-
You can customize the cursor by adding custom CSS or JavaScript to create new shapes, sizes, or mouse effects. This tutorial uses a section ID, CSS, and JS to create a drawing-style custom cursor.
-
Yes. You can add animations using CSS, JavaScript, or code blocks. Squarespace supports custom effects as long as they do not rely on external scripts that violate security rules.
-
You can create one using CSS or a small JavaScript snippet. This post includes a free custom cursor effect you can install instantly.
-
Yes. All custom cursor effects shown here are free and require no paid plugins.
-
Yes. Animated cursors can be made using GIFs, SVGs, or canvas-based animations like the Marker Drawing Effect.
-
Yes. You can create custom cursors manually using CSS or JavaScript without paying for an app or extension.
PAST PROJECTS